

Name a group of files at once in Windows 10
Renaming a single file in Windows 10 is easy, but it can be annoying when trying to rename a long list of files in a folder in one go. Although you can always install third-party tools to make the process easier, Windows 10 includes various tools to make it easier to change the name of files using File Explorer, Command Prompt, and more.
Below we will learn how to rename multiple files at once in Windows 10. It is divided into two parts:
-
How to rename multiple files with the same name in Windows 10:
The easiest way to rename all files at once is to use the traditional method. You just need to select the files you want to rename, and rename any file with the new name. All files will have the same name with sequential numbers to arrange them. To do this, follow these steps:
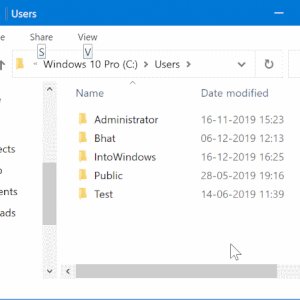
- Open the folder containing the files you want to rename.
- Select all files, then right-click on any file, and choose Rename.
- Now you just have to name the file, and the rest of the files will have the same name, as well as sequential numbers to organize them.
-
Rename multiple files with different names:
If you want to rename multiple files with different names, here’s a quick way:
- Open the folder containing the files you want to rename.
- Click any of the files to select it, then press the F2 key on your keyboard to make that file name editable.
- Type a new name, and then press the Tab key on your keyboard to move to the next file.
- Type another different name, and then press the Tab key to move to the next file, or press Shift + Tab to move to the last file.
- Repeat this procedure to rename all the files you want to rename.
This way you can save much more time when using the mouse to select files one by one. If you find yourself making a mistake when renaming files, press Ctrl + Z on your keyboard to undo the change once, or you can click the menu button at the top left of the screen in the address bar in File Explorer and choose the Undo button.


 Pro with its metal unibody")


