

Adding a signature to a Microsoft Word document is the perfect way to personalize it and include it within the file, especially for documents such as letters or contracts. If you want to add a signature to a Word document, here’s how.
There are several ways to add your signature to a Word document.
So you can add a signature after printing, or add a digital signature through the Microsoft Word application, or insert your handwritten signature as an image within the file itself.
Add signature to word file
The Insert Signature in Word feature provides you with a personalized location to sign a printed document. If you plan to print a Word document, adding a signature line is probably the easiest way to add a signature.
To add a signature font to a Word document, follow these steps.
Click Insert > Signature Line. This icon is usually included in the “Text” section of the Word ribbon menu bar.

In the “Signature Setup” box that appears in front of you, fill in the details of your signature. You can include the name, site address, and email address of yourself or another person you want to sign in the specified place.
You can also provide location guidelines. Once you’re ready, click OK to insert your signature line

Once you confirm your signature options, a signature line is inserted with a cross and a line to indicate where to sign.

You can now place the box shown above in a suitable position within your Word document. The document can then be signed at this position after printing or, if you save a Word document in the DOCX file format, you can insert a digital signature into the document at this point.
Enter a digital signature
To add a digital signature to a Word document, you’ll need to follow the instructions above and insert a signature line first.
You’ll also need to install a security certificate for your signature If you don’t have one, Word will ask you if you’d like to obtain one from a Microsoft Partner such as GlobalSign.
As an alternative, you can create your own digital certificate using the “Selfcert” tool, included in your Microsoft Office installation folder.
Find “Selfcert.exe” in the Office installation folder and double-click it to open it.
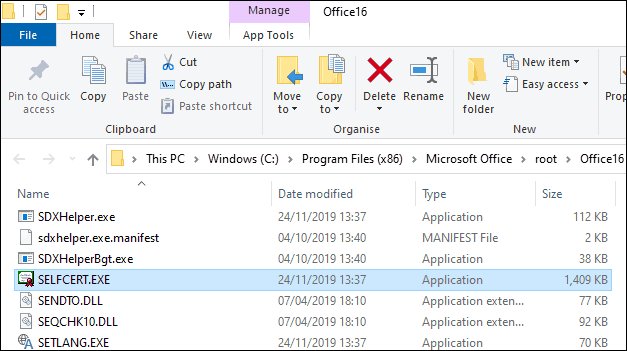
In the Selfcert tool, type a name for your security certificate in the “Name of your certificate” box and then click OK to create it.

Once the certificate is digital, return to your Word document and double-click on the signature line.
In the Signature box that appears, type your name or click Select Picture to insert a picture of your handwritten signature.
Click Sign to insert your digital signature into the Word document.
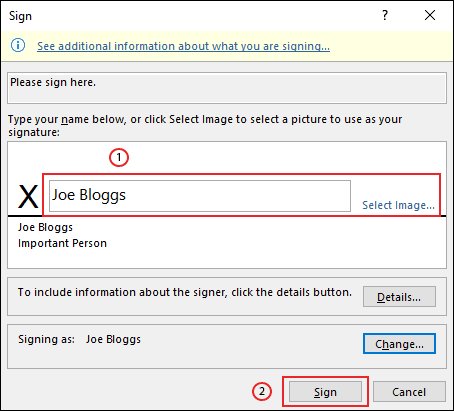
Once signed, Word will confirm that the signature has been added.
If you edit the document after signing it, the digital signature will become invalid, and you will need to sign it again.
Insert an image signature into a Word file
First: Go to the screen by clicking Insert > Signature Line
Second: Add an image of the signature
If you prefer to use your own handwritten signature, you can take a photo or scan a copy of it and then upload it to your computer. You can then insert an image of your signature into a Word document.
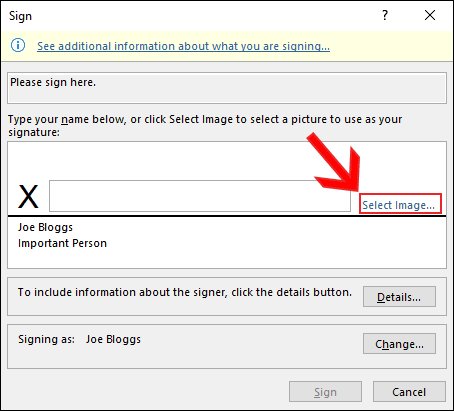
From “Insert Image” option, click “Select Image” and select the signature image file from your device, click “Sign” to place the image on your signature line.
Once inserted, the image file containing your signature will be inserted above your signature line as follows


