

The popular Instagram app makes uploading photos from your desktop very difficult – there’s no way to do it using the official Windows 10 app or through the Instagram website, and there’s no Instagram app for MacOS either.
This causes an inconvenience for many people who use Instagram from their desktop devices – especially if you want to post photos that you took using a digital camera instead of a smartphone, or if you want to edit photos and videos using programs that are only available on desktop devices before uploading them.
Fortunately, there are several easy ways to get around it and upload photos to Instagram from your PC or Mac. All you need is to use a little software.
The first method: Vivaldi
1. Download a browser Vivaldi
The super-customizable Vivaldi web browser provides the quickest and easiest way to upload photos to Instagram through your PC or Mac, by running the mobile version of the Instagram website on the aforementioned web browser, so you must first download Vivaldi and install it on your device, then launch the browser to import bookmarks and set your preferences, or click “Skip All” and continue with the browser’s default settings.
2. Create a web panel
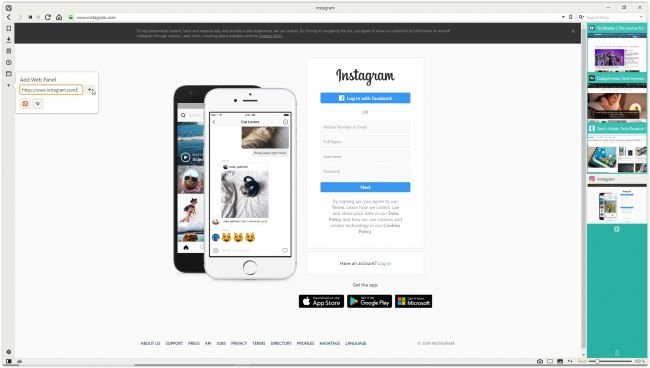
Open your browser and go to www.instagram.com, then click on the (Add Web Panel) icon on the left side of the browser interface. The URL will be filled in automatically, so all you have to do is click on the plus sign again. The mobile version of Instagram will now appear in a sidebar on the left side of the browser, and it will remain there while you browse other sites. Sign in to your account, then resize the sidebar so that the mobile site fits comfortably.
3. Download photos to Instagram
Click the + sign at the bottom of the website to choose a photo from your PC or Mac, apply filters, add a caption and tags, and upload it to your account.
Second method: BlueStacks
1. Download a program BlueStacks On your device
Through this application you can open the Instagram Android application on your computer, and you can run it on your desktop using the free Android emulator BlueStacks, allowing you to upload photos to Instagram from your computer or Mac.
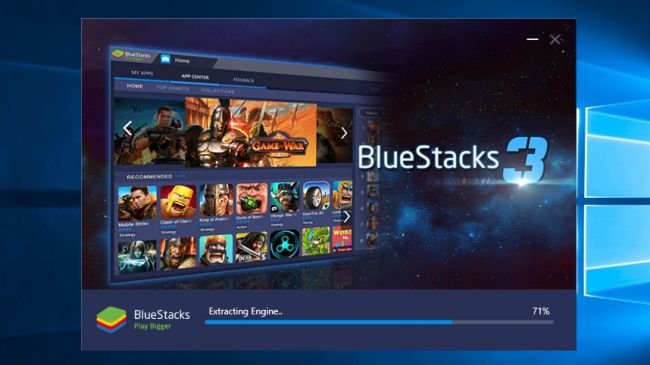
Download and install BlueStacks on your personal device, then wait a few minutes while it starts up for the first time, make sure you select the correct language and complete the installation of the program and press the arrow button.
2. Sign in to your Google account
Click Continue, then sign in with your Google account. Review the Terms of Service, and if you agree, click OK.
The following checkboxes are completely optional; If you only use BlueStacks to upload to Instagram, feel free to uncheck them all. Click the next arrow, then enter your name (it will only be used to customize some apps).
3. Install the Instagram app
You will now see the Google Play Store Search for Instagram in (the search bar at the top right), select the official app when it appears and click Install, the app will ask for access to information including contacts and location, if that is convenient for you, click Accept.
After a moment, the Instagram icon will appear at the bottom of the Apps tab, tap it once to open the app.
4. Download, apply filters and share
BlueStacks will change to the size and shape of a smartphone. Log in to your Instagram account and Instagram will appear as if you were using the phone.
Click the (+) icon at the bottom, then select “Gallery.” Click the “Gallery” drop-down menu at the top right and select “Other,” then click “Pick pictures from Windows,” then find the photo you want to upload, select it and click “Open.”
Then you can crop the photo, add filters and share it with your followers across all the usual social networks.


